 HoopReady
SVG to PES
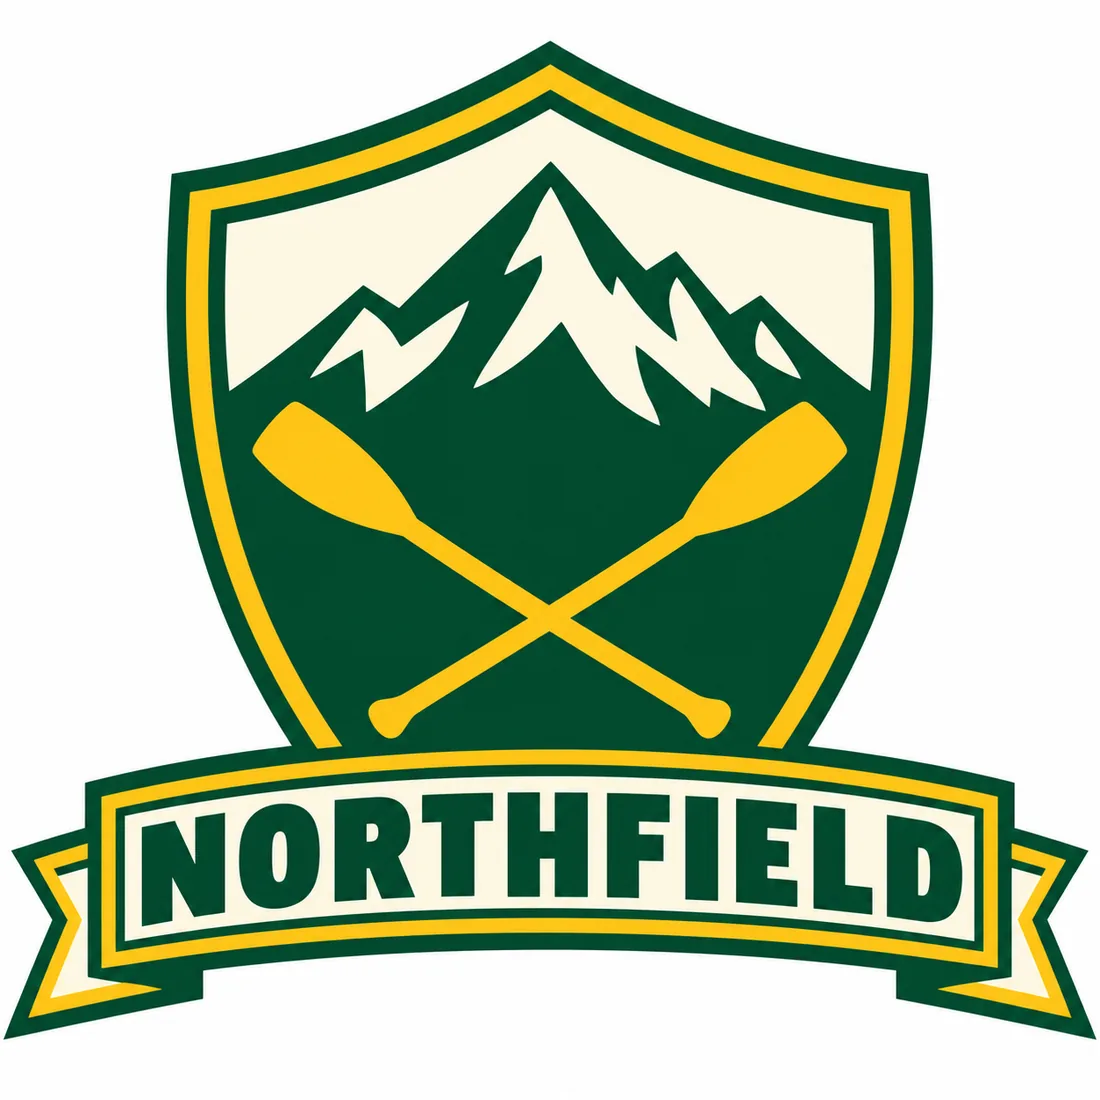
An SVG already has the hard part of a logo — exact shapes at any size. What it does not have is a single instruction for a needle. A PES for a Brother or Baby Lock is those instructions, and the step between the two is a stitch plan: a set of decisions attached to every shape. We digitize in Inkscape with Ink/Stitch, so the plan is itself an SVG, and you can count what it adds.
What an SVG that sews carries
Every shape in the crest's stitch plan carries the same 9 settings. A drawing has none of them. This is what each one is, and what it was set to:
| Setting | What it decides | In the crest |
|---|---|---|
| Fill method | How the shape is filled with stitches | tatami fill on all 38 |
| Fill angle | The direction the stitches run, so light catches each part differently | 19 different angles across 38 shapes |
| Underlay | A first, sparse layer that holds the fabric down before the top stitches | on all 38, at its own angle |
| Row spacing | How close the rows of fill sit | 0.3 mm |
| Longest stitch | Where a long stitch is split so it does not snag | 3 mm |
| Pull compensation | How much each shape is widened against the pull of the thread | 0.1 mm or 0.2 mm, by shape |
| Shrink | Small or crowded shapes drawn slightly inside their outline | 11 shapes, by 0.2 mm |
| Trim after | Cut the thread when the shape is done, so nothing runs across the design | on all 38 |
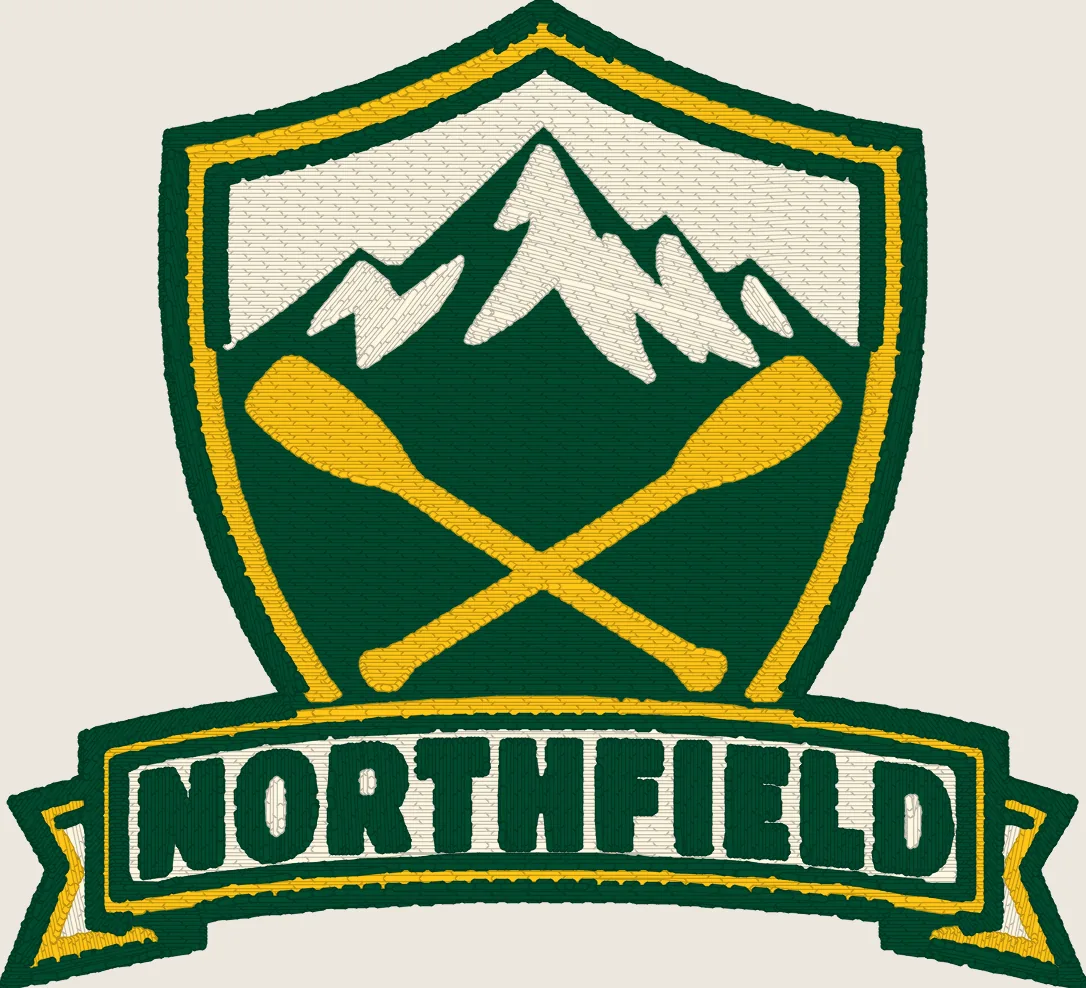
Two of those rows do most of the work you can see. 19 angles across 38 shapes is why the shield, the band and the letters read as separate surfaces in thread rather than one flat sheet. The 11 shrunk shapes are the small ones that would otherwise swell into their neighbours once the thread pulls. Neither is in the SVG you send, and neither can be read from it — the drawing would look identical with any value.
Doing it yourself in Ink/Stitch
If you already have Inkscape open, you can: Ink/Stitch is free, and it will save a PES. The work is in the table above, shape by shape. Set a fill angle per shape rather than leaving the default, turn on underlay, widen narrow shapes against the pull, and — the one people miss — put the shapes in the order they should be sewn, because Ink/Stitch sews in the order the objects sit in the file. A shape inside another shape goes after it, or the outer fill buries it.
Lettering is where a home-made file usually fails. Letters under 6 mm high on woven fabric, or 8 mm on caps and knits, close up whatever the settings say; we redraw lettering rather than fill the font's outlines.
What changes when it becomes a PES
The stitches do not change; the colours get names. A PES stores a Brother thread for every block, the nearest one to the colour in your SVG — the crest's #024a2e green is written as “Deep Green”. Why two different colours can arrive under one name is on the PDF to PES page; the thread list that comes with every order names the colours we meant.
Getting the plan back
Premium and Enterprise include the stitch-plan SVG itself (36.6 KB for the crest) beside the PES, DST, JEF, EXP and VP3. Open it in Inkscape with Ink/Stitch and every setting above is attached to its shape: change a colour or nudge a word and re-export the PES yourself, instead of starting from your original drawing again. Every package includes PES and DST, from $9.99.
Before you send the SVG
Turn text into paths, or the file asks for a font our reader may not have — the SVG to DST page shows what that does. Then run the free check: it reads the SVG at the width you need and reports the colour count and the thinnest line, which decides the package.
Delivery takes 1–3 business days, most orders the same day. A digitizer checks every file before it reaches you.
Questions
- Can I convert SVG to PES for free?
- Yes, if you do the digitizing yourself: Inkscape with the Ink/Stitch extension is free, open source, and can save a PES. What it cannot do is decide the stitch angle, underlay, pull compensation and sewing order of every shape for you — it uses defaults until you set them. Our crest needed 342 of those settings across 38 shapes. The free check on our home page measures your SVG before you decide which way to go.
- Why does Ink/Stitch give me a bad PES from a good SVG?
- Usually because every shape is sewn with the same defaults: one fill angle, no shrink for small pieces, and in the order the shapes happen to sit in the file. A shape that is drawn on top in the SVG but sewn first gets buried; a lettering counter filled at the wrong angle closes up. Those are per-shape decisions, which is why the stitch plan below sets them shape by shape.
- Is a cut-file SVG (for a Cricut or Silhouette) ready for embroidery?
- Rarely as it is. Cut files are built for a blade: outlines, thin connecting bars and tiny islands that cut cleanly but are too thin to stitch. Lines under about 1.5 mm at your stitched size are the first to go; the free check reports the thinnest line it finds so you know before ordering.
- Do I get the SVG back so I can edit it?
- Premium and Enterprise include the editable Ink/Stitch SVG beside the machine files, from $29.99. It opens in Inkscape with every setting on this page attached to its shape, so a change is an edit rather than a re-digitize.
- Which machines read PES?
- Brother and Baby Lock. Every package also includes DST, the commercial default, so a shop with a multi-needle machine can sew the same design.
Check your SVG freeSee pricing
The picture above is a stitch simulation from our own engine on rule set 1.3, not a photograph. The settings are counted from the stitch-plan SVG the engine wrote for this design, with pyembroidery 1.5.1 reading the delivered files.